
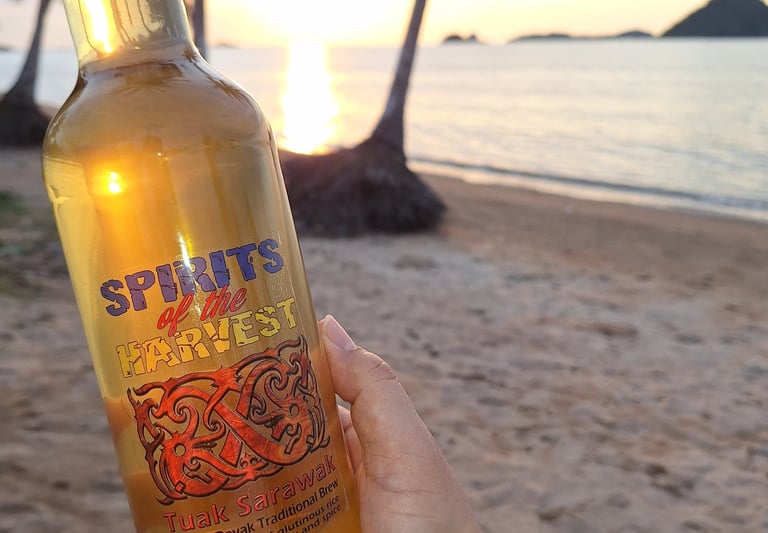
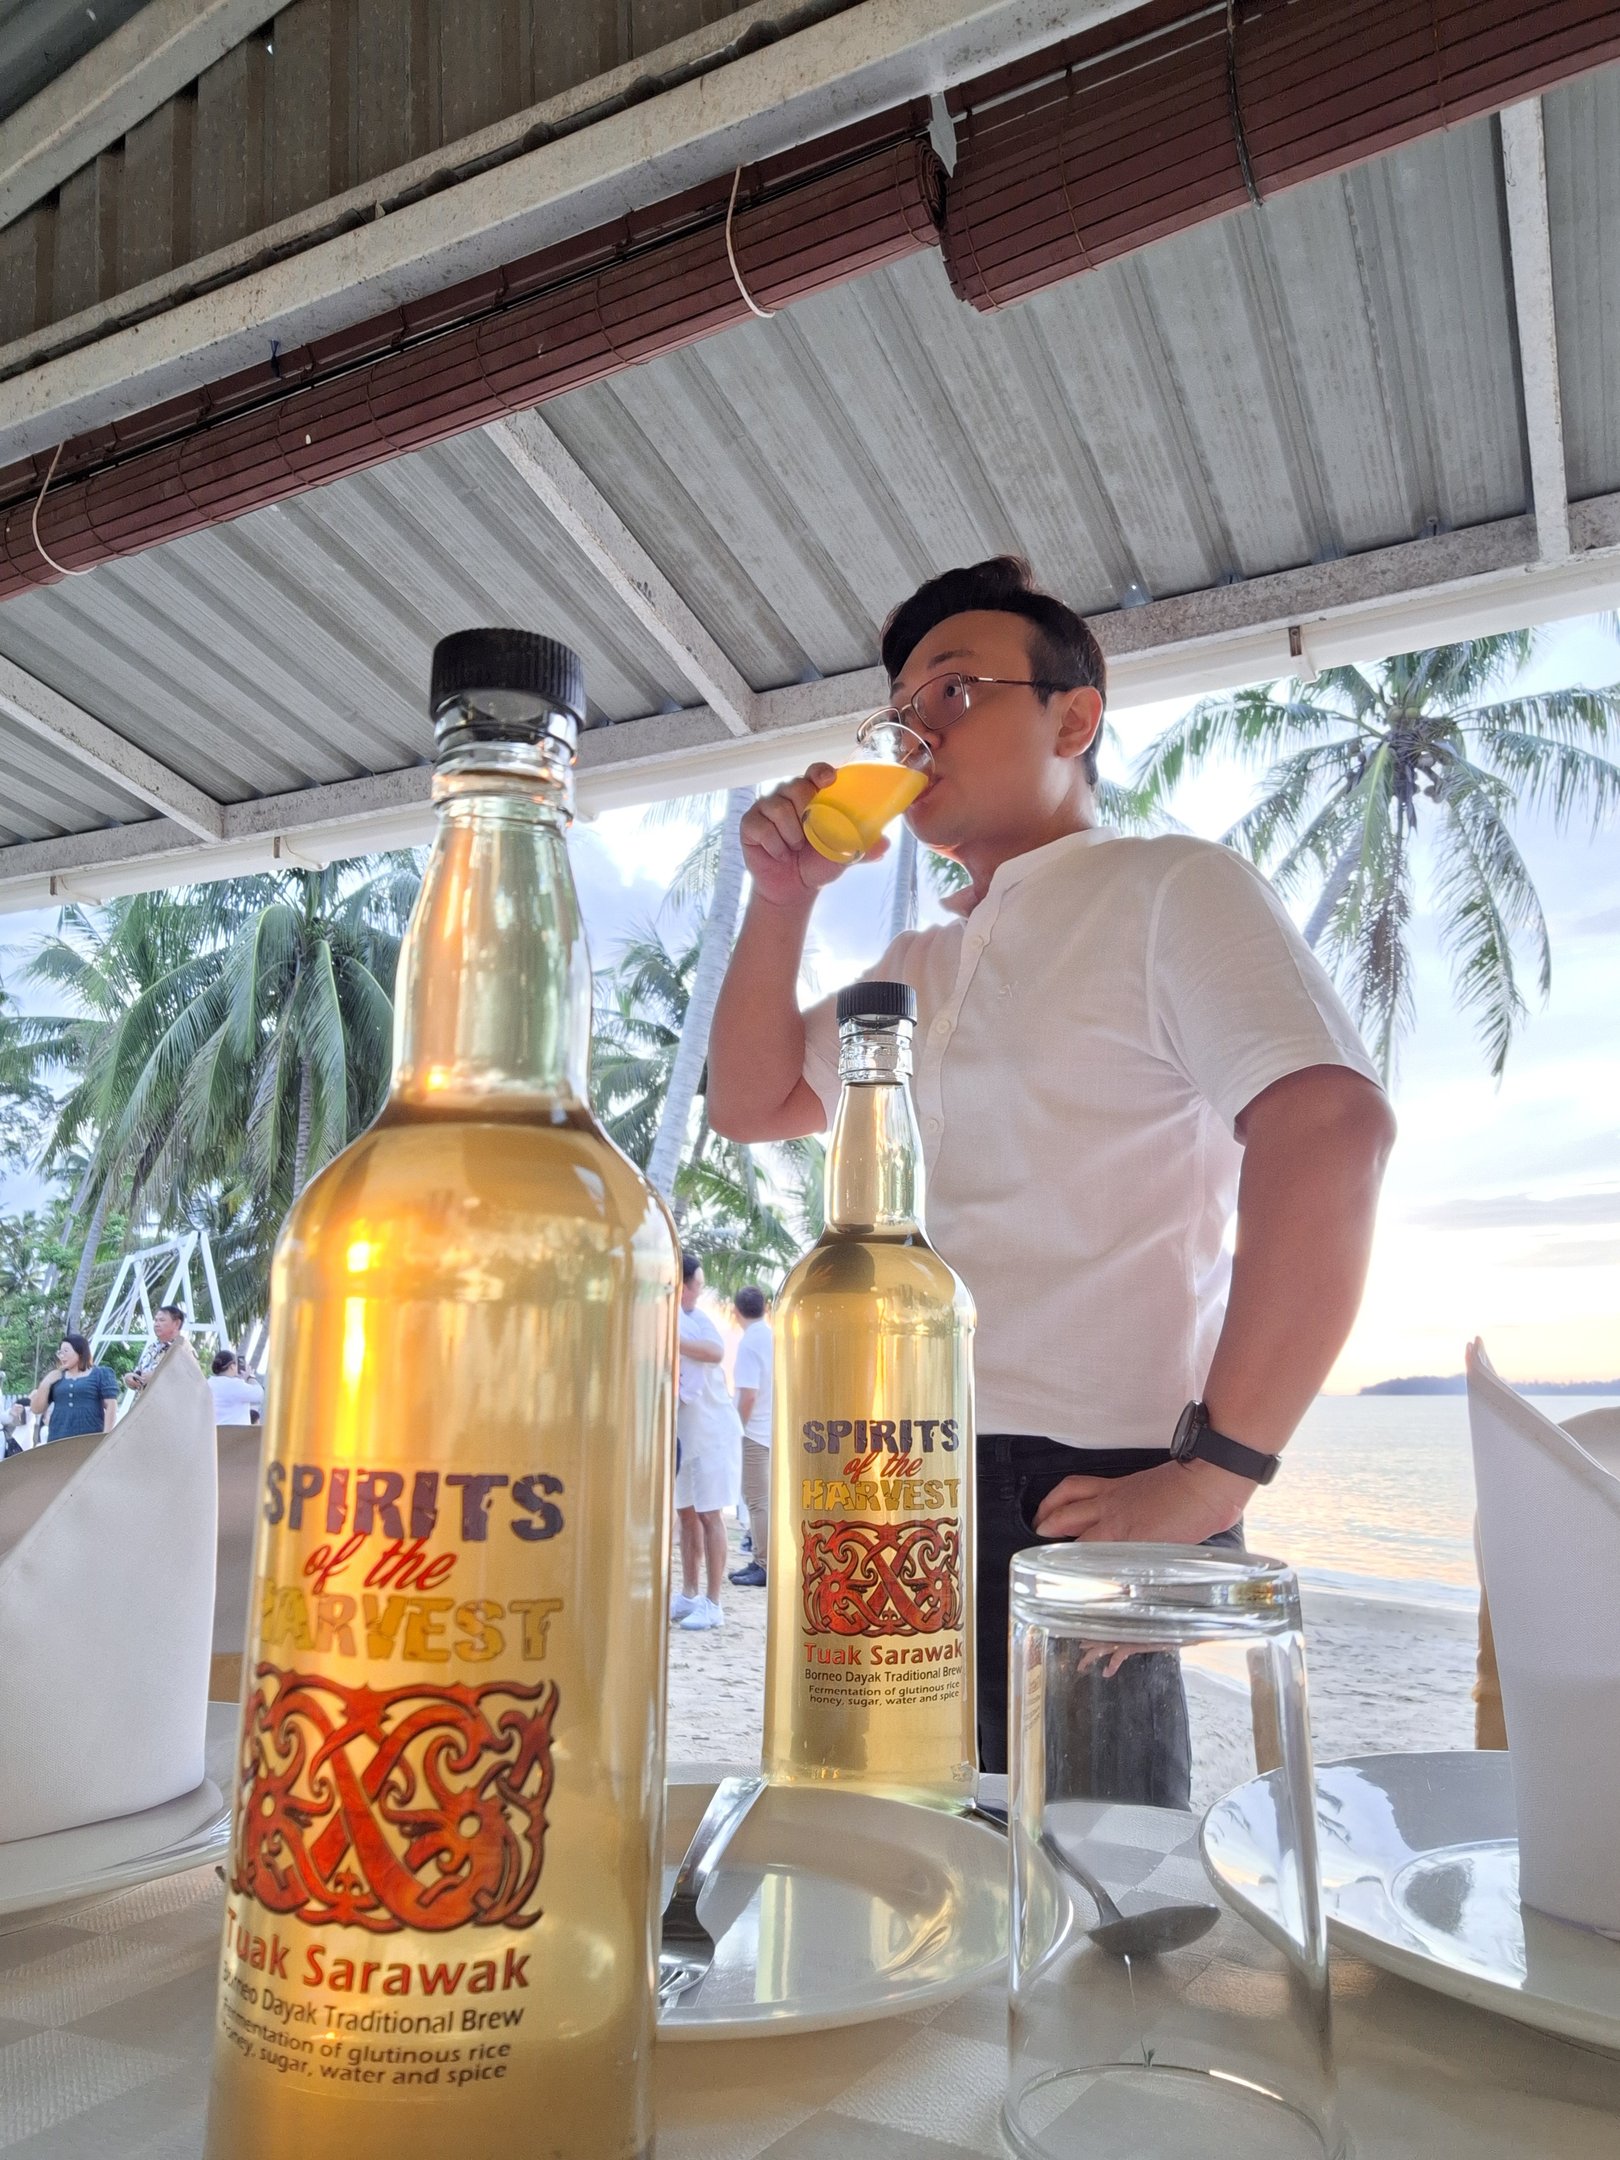
Discover Tuak, Borneo's Finest Rice Wine
Experience the culture and heritage of traditional rice wine crafted with passion, refined with modern expertise and wisdom.
Discover the Essence of Tuak
Tuak is a traditional fermented drink of the Dayak tribe in Borneo made from rice, usually glutinous rice. The fermented glutinous rice is often mixed with sugar for added volume and balanced taste. Further fermentation takes about 2 to 3 months before harvest.
Tuak is served during celebrations across Sarawak, primarily during the harvest festival in May and June. Tuak is also the essential element in Dayak blessing and thanksgiving rituals.
At Spirits of the Harvest, we honor the traditional craft of tuak, blending heritage with modern appreciation to elevate its presence in the global alcohol scene.
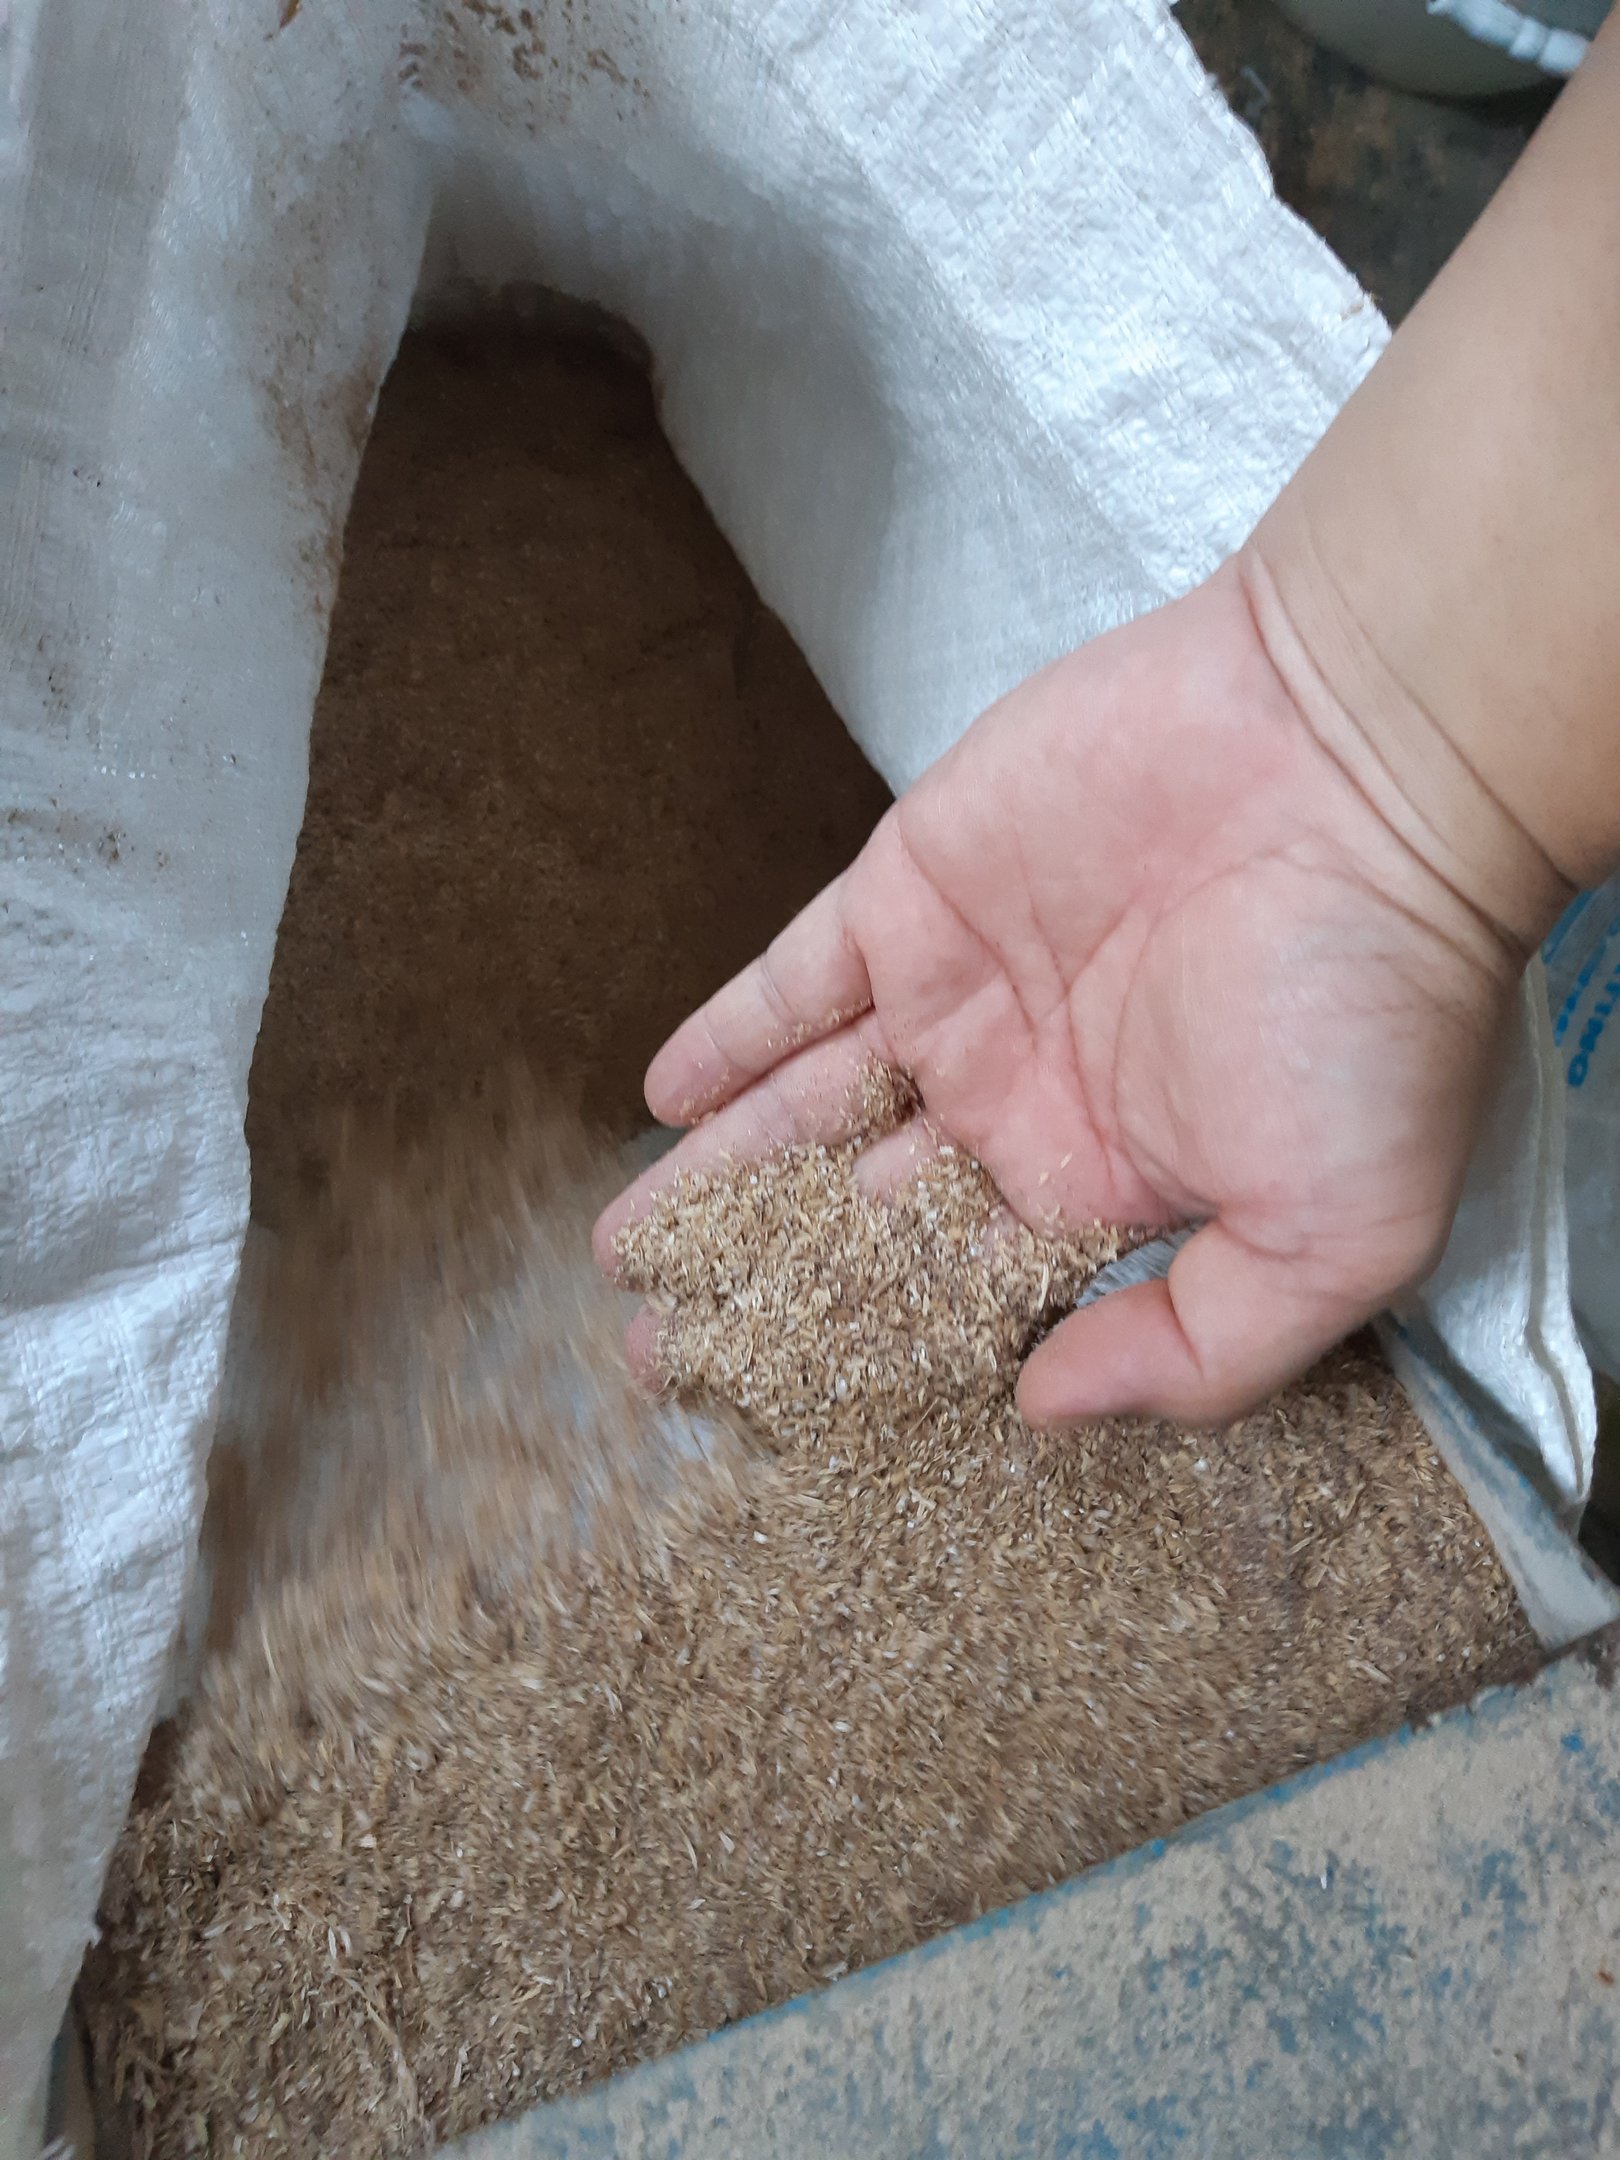
The fermentation process of tuak is initiated using yeast & enzyme mix called 'ragi' in Sarawak local language. Ragi is made by mixing specific portions of ginger, galangal, aromatic spices, yeast and rice flour.
The ragi ingredients are mixed into a dough, shaped into small balls and dried under the sun. The typical size of ragi balls is similar to golf balls.
Tuak begins with the making of Tapai, which is fermentation of glutinous rice. Dried ragi is pounded and mixed evenly onto cooked glutinous rice at room temperature.
After 7 days, sugar water is added to taste and left to ferment for 2 to 3 months, achieving the typical alcohol of 13% to 15%.
Our Heritage, Your Experience
Crafted with Passion
We are dedicated to preserving the age-old techniques of rice wine making, ensuring that every bottle of tuak reflects our commitment to quality and cultural heritage, inviting you to experience its unique flavors.
Rice Wine Expertise
Discover our traditional and modern approach to Borneo rice wine, enhancing appreciation and education.


Heritage Preservation
We honor age-old winemaking traditions while innovating for contemporary tastes and global acceptance.
Culinary Pairings
Explore unique pairings of tuak with local cuisines, elevating your dining experience with our rice wine.
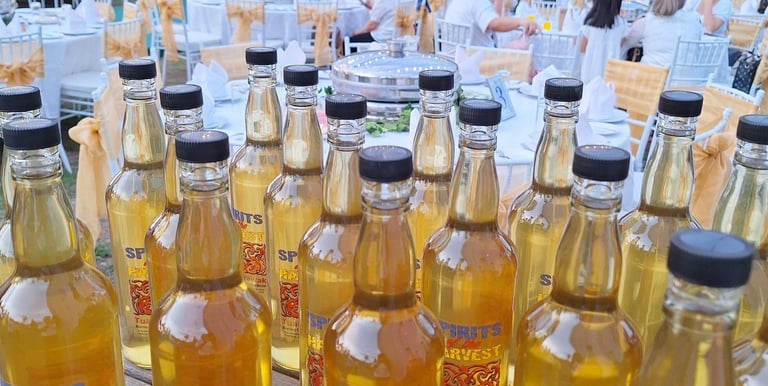
Tuak Gallery
Explore our traditional rice wine craftsmanship and cultural heritage.


The tuak from Spirits of the Harvest is a delightful experience! Its rich flavors and traditional crafting truly elevate the appreciation for Borneo rice wine.
Agustus Sapen


★★★★★
Founder, Spirits of The Harvest


Allen James
Co-founder, Spirits of The Harvest